Hello World and all it’s inhabitants here in the virtual web!
Many occurrences occurring all at once as of late! But fear not, those who embrace the waves shall persevere! (Or be swallowed whole by the hungry sea, both sound cool)
In this current chapter of my never-ending search for novelty film photographic processes, I stumbled into a very DIY developer for developing your own film at home, involving one of my favorite chemicals: coffee.
If you know me, you know my Cuban background comes in strong when I’m making a little bit of cafecito por la mañana (Hecho a mano, con amor!) so it felt destined for me to find this and try it for myself. So without further ado, let’s introduce
CAFFENOL. Warning, I’m about to nerd out on this for a bit *shrugs*
Caffenol is a home-made developer used to process photographic film. The three main components to it are:
– instant coffee
– Ascorbic acid (vitamin C) powder
– and sodium carbonate aka washing soda (not to be confused with baking soda)
Caffeic acid in the instant coffee is the reducing agent for the developmental process. It interacts with exposed silver halide crystals in film, reducing them to metallic silver, which produces an image. Sodium carbonate is a base which increases the pH of the solution. What this does is that it helps activates the caffeic acid by taking away protons from it, allowing it to be a more effective reducer (by reacting with caffeic acid’s phenol group). Ascorbic acid is used to shorten the development time. It also reduces the silver halide crystals, giving images more contrast
And for the last part with any film development is the fixer. I used Ilford’s Rapid Fix which essentially removes unexposed silver halides so that the image is stable. The imprint of the image does not fade away over time, hence fixing an image on emulsion
Results: areas of metallic silver where light exposure occurred which creates a negative of the image and imprint which can then be converted into a positive and you have your final image.
Silver Halide (AgX) Exposure to light:
- Reaction:
AgBr+hν→Ag+Br
Reduction of Silver Halide by Caffeic Acid and ascorbic acid:
Deprotonation of Caffeic Acid (simplified):
C9H8O4→C9H7O4−
(In an alkaline solution, caffeic acid loses a proton, creating a negatively charged anion.)Reduction Reaction (simplified):
2AgBr+C9H7O4−→2Ag+Br2+C9H7O4
Ascorbic Acid Reaction:
C6H8O6→C6H6O6+2H++2e−
AgBr+e−→Ag+Br−

Caffeic acid: the ring structure is the phenol group which is a reactive species due to its two hydroxyl groups (-OH)
Okay, okay. Phew, that was a lot. Enough with the school stuff, let’s get into the How-To!
For equipment, you’re going to need a couple things:
– Beakers to mix things in
– Glass, stirring rods
– A small table scale to measure out ingredients
– Dishwashing soap (a couple drops used in the last water rinse bath so that the film doesn’t streak as it dries)
– A developing tank (ex. Paterson). Also a shout out to Olilou’s Film Lab for graciously donating to me one of my own to get this process started :,)
– And lastly, a dark bag to load the film into the developing tank

Delta Standard recipe. Once components are mixed, the developer action is ready to take place! (note: First, there is a really awful smell from the combination of coffee and sodium carbonate. Secondly, it’s best to use right away since this mixture begins degrading after like 30 mins.
For the recipe, I used caffenol.org which basically is a blog where people post a bunch of film recipes specifically for this and the dude who made the website has been doing this for years! There’s various recipes for different type of films. The one that I used was the Delta Standard, but instead of developing for 9 mins, it was suggested for 12 mins since I used Delta 3200 35m film to shoot Kontravoid’s set in Miami the other week at Gramp’s Wynwood.
For the developing process, there are plenty of YouTube videos that show how to do this! But for completeness sake, I’ll do a quick run down:
1. Load film into developing tank using a dark bag
2. Measure out ingredients and mix
3. Pour compounded caffenol into developing tank. Invert the film tank repeatedly for this first 30 seconds. Then every 10 seconds of every minute going forward for 12 minutes
4. Pour out caffenol from the tank, and rinse with water until clear (about 30 seconds to a minute) this will serve as your Stop-Bath. It’s recommended to use distilled water for these processes, but I was lazy!
5. Now pour in same volume of fixer as there was developer. For Ilford’s Rapid Fix, it needs to be diluted. So, I went ahead and used a 1:4 dilution using water. Use inversion method for 10 seconds of every minute for 5 minutes.
6. Pour fixer into a reusable bottle (you can use it for about 24 rolls). Now, rinse developing tank with water. The roll is completely developed! The tank can be opened up, and here you can throw a couple drops of dishwashing soap and move the reel in the water!
7. Lastly, freak out because you have actual images and hang the negative up to dry!
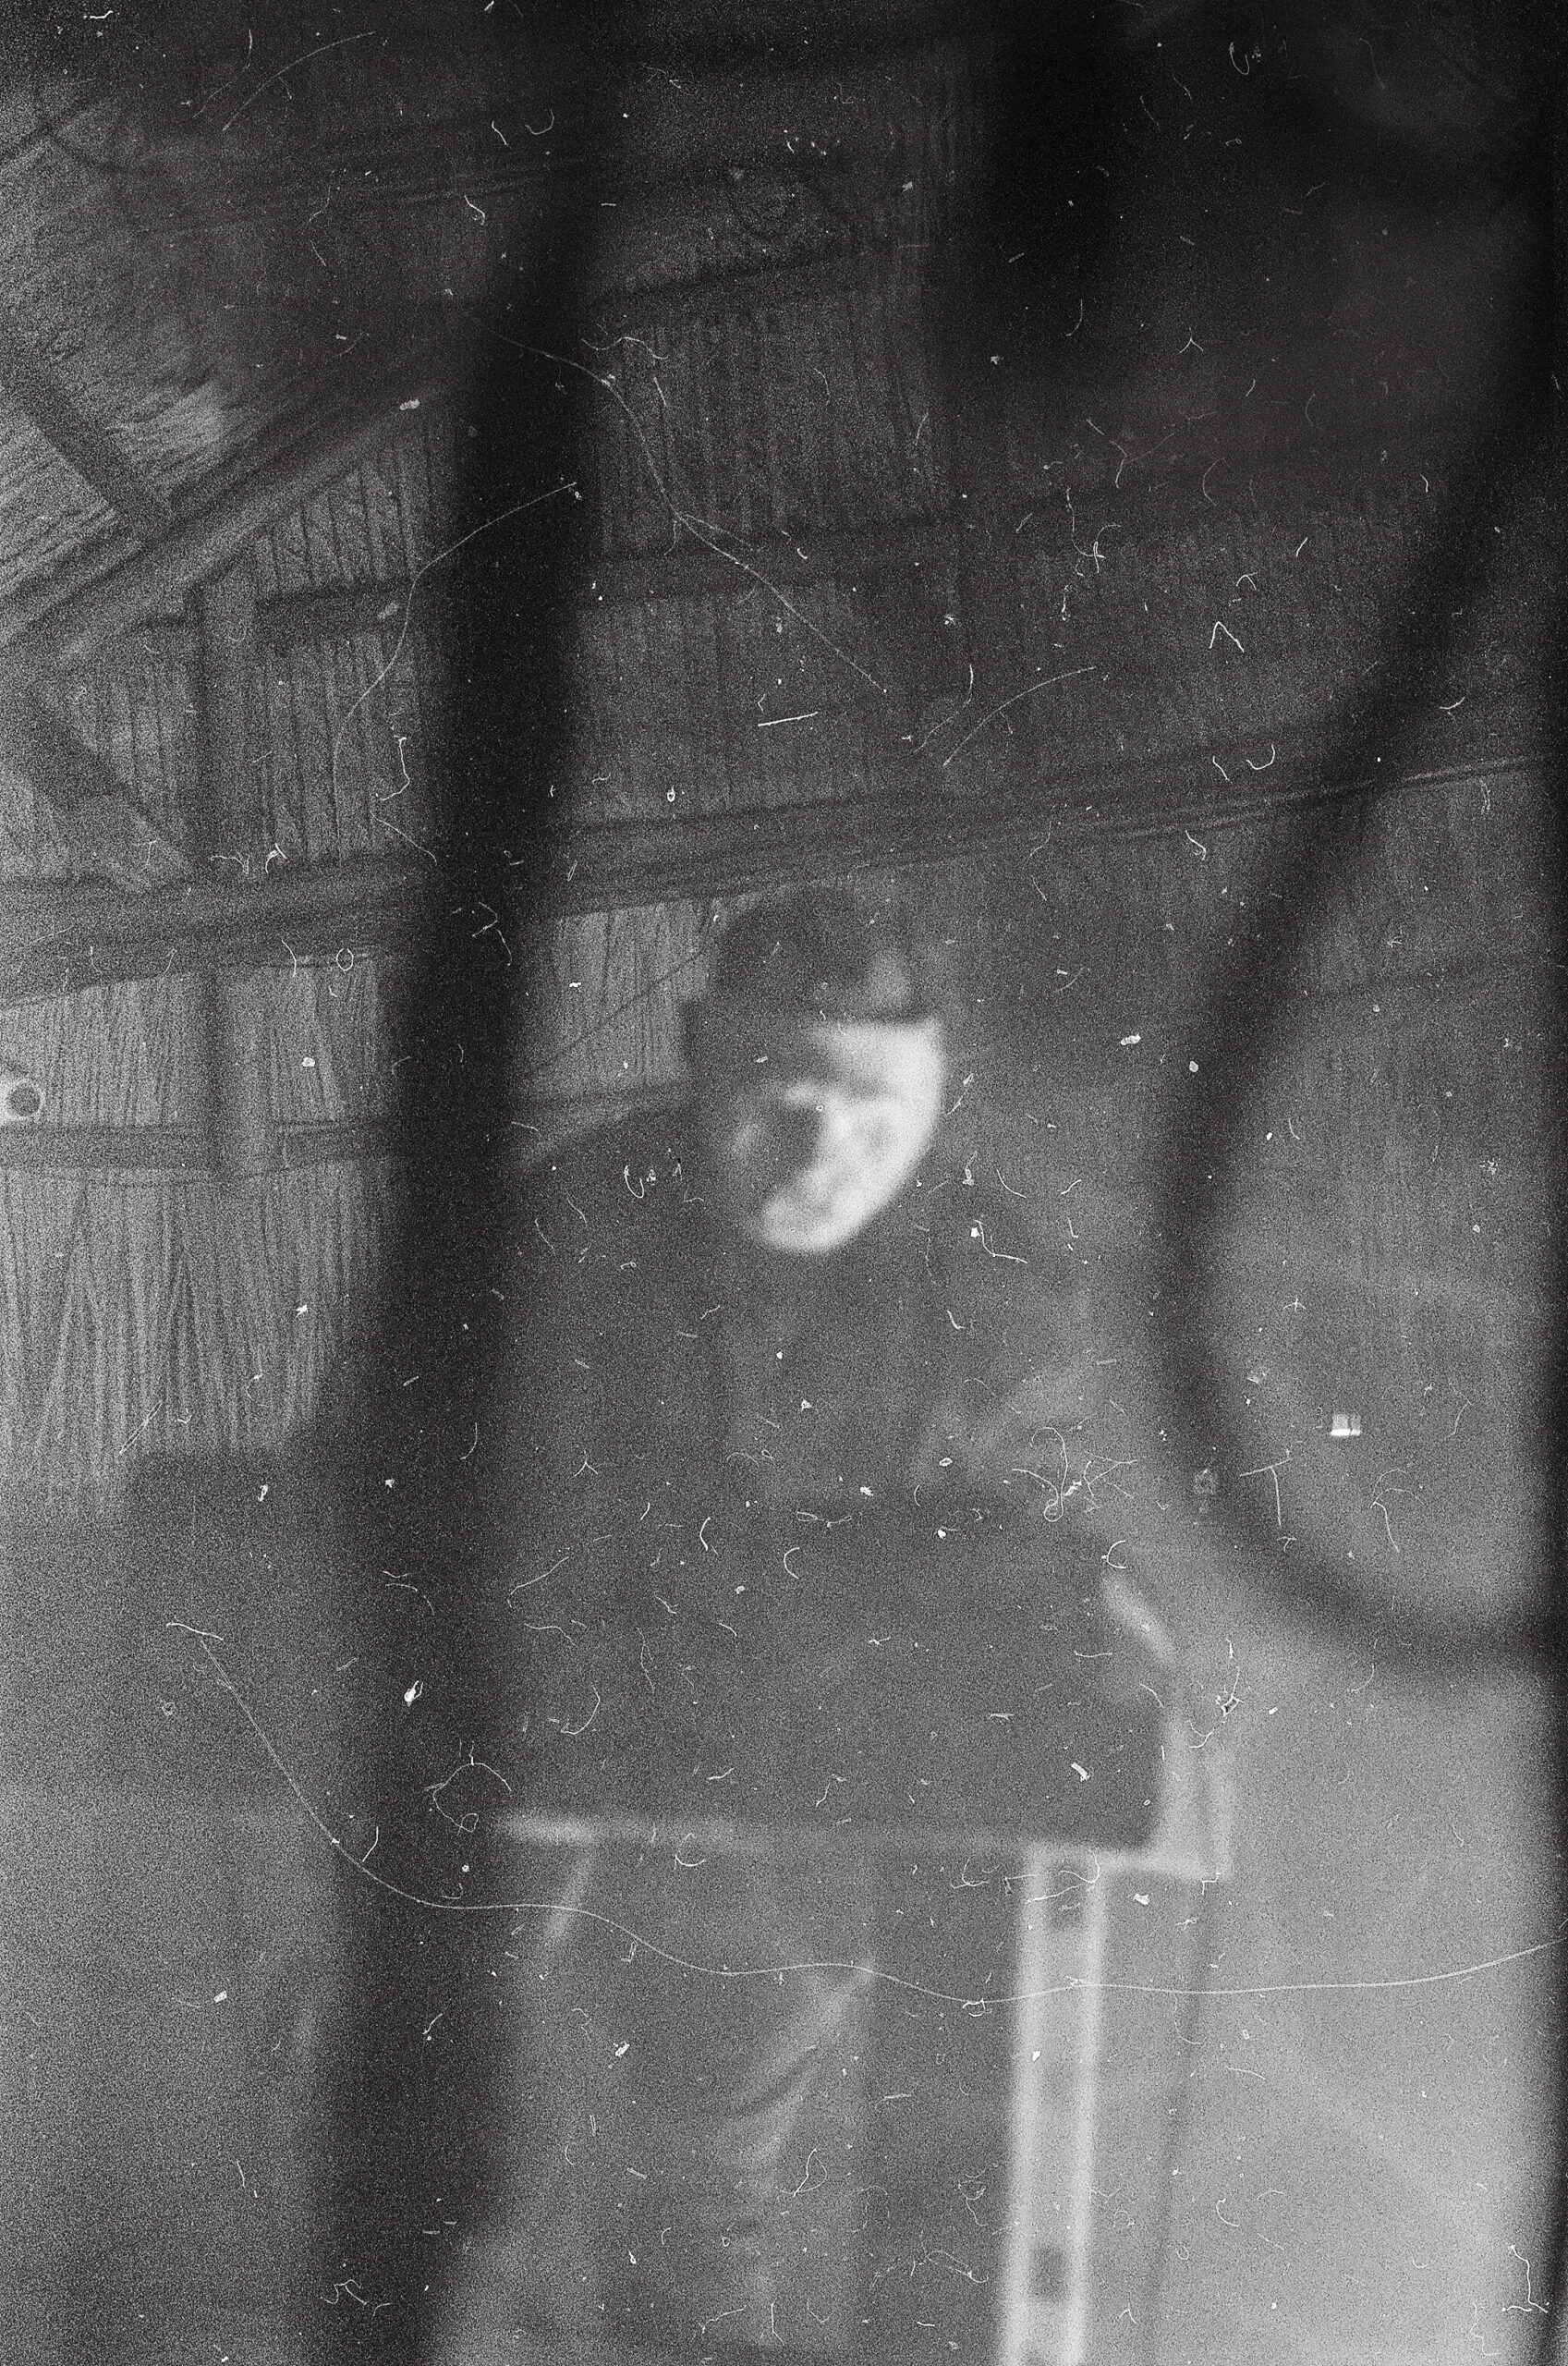
Now, the moment we’ve been waiting for after a relentless amount of word vomit: THE IMAGES!
Taking the negatives out of the reel was so satisfying because images actually developed, and this was my first time developing film so it was a thing of beauty 🙂
I headed on over to Olilou’s and they scanned the negatives right away! Upon first glance I realized a couple things:
1. I totally forgot that I had pushed this roll about one stop. (6400 ISO)
So I technically should have left it in a developer for longer. However since my mind mind was absent of this fact, the negatives came out a bit flat.
2. I most definitely dropped the negative on the ground as it was drying. Hence all the the dust marks and artifacts. However, I don’t mind them because really gives it that DIY feel to it 🙂
Overall, this was super fun to do! I love hands-on projects like this, as it allows me to connect a little more to them. Now that I have all this equipment lying in the corner of my room, y’all will most definitely see some more scratchy, dusty, home-developed rolls from yours truly 🙂


